How to Photograph Northern Lights in Europe: Camera vs Phone
Learn to photograph the northern lights with a camera or iPhone, from tripod and settings to time lapse, and pick dark skies in Lapland or Iceland.
On this page
Photographing the northern lights rewards a simple, repeatable routine: a steady camera, a fast lens, a dark sky and settings you can adjust as the display changes. The far north of Europe, from Finnish Lapland across the Swedish border to Iceland, puts you under the auroral oval, where the lights are more frequent and often brighter overhead than at mid-latitudes. This guide gives you a decisive camera and phone workflow, then explains where to stand, how to wait out cloud, and how many nights to allow so your setup meets a clear sky.
Why the far north gives your camera the best odds
The aurora is formed when charged particles from the Sun interact with Earth's magnetic field and atmosphere, producing arcs, bands and curtains of light that can stretch for hundreds of kilometres. Because the magnetic field funnels those particles toward the poles, displays are concentrated in far northern and far southern regions, which is why Arctic Europe sees them far more often than central Europe. For a camera, that matters because a brighter, higher display needs a shorter exposure, which keeps moving curtains crisp instead of smeared.
Darkness is the other half of the equation. In Lapland the useful aurora nights run roughly from late August through early April, and a Finnish photography account notes that September and October, or March and April, are its preferred windows because autumn brings colour and spring brings snowy sunsets. Midwinter offers long nights but also deep cold, while midsummer sun makes photography impossible. Within that season, pick a week with moon-free nights if you can, since moonlight brightens the sky and washes out faint arcs.
Your destination choice shapes the odds. Finnish Lapland around Inari and Utsjoki sits deep under the oval with long dark nights and big temperature swings, Swedish Lapland around Abisko and Kiruna offers a continental, often clearer inland climate, and Iceland trades latitude for coastal drama and changeable weather. Compare the trade-offs of each in our guide to the best places to see northern lights when choosing a base, because cloud patterns and light pollution vary more between these regions than most travellers expect. If Lapland is on your shortlist, our guide to the northern lights in Finnish Lapland covers the main bases in more detail.
Tripod, remote shutter and spare batteries: the gear that actually matters
A tripod is non-negotiable because aurora photography depends on exposures of one to twenty seconds or more, and any movement during that time blurs the stars and the lights. If you lack a tripod, rest the camera on a solid surface and use the self-timer so your finger does not shake the frame when the shutter opens. A remote shutter or a cable release does the same job more precisely, and on many phones the volume buttons fire the shutter without touching the screen.
Batteries are the weak point in Arctic cold. Cold conditions drain power quickly and iPhones can shut themselves off to protect their circuitry, so carry spares, keep them close to your body, and wrap the device if the temperature drops hard. One Finnish Lapland photographer reports working at around -20°C, a reminder that gear needs a plan for serious cold rather than a mild autumn night. A wide, fast lens, roughly 14–24mm with an f/2.8 or wider aperture, is the other piece worth carrying.
Camera settings to start from
Start with ISO 1600, aperture f/2.8 to f/4 and a shutter speed near 8 seconds, then adjust as the display tells you what it needs. When the lights move fast, drop to around 4 seconds so the curtains stay defined; when they are faint and slow, stretch to 15–25 seconds to gather more light. Pushing the shutter too long risks turning a structured display into a messy ball of light.
Treat those figures as a starting point, not a rule. A typical modern DSLR or mirrorless camera can go further: one Húnaflói Bay shot in Iceland was made with a 14mm lens at ISO 3200, f/2.8 and 3 seconds, and a Lofoten frame at ISO 1600, f/4 and 5 seconds. The pattern is that brighter displays allow faster shutter speeds and lower ISO, while dim arcs need more light and more patience. Shoot raw if your camera allows it, so you can lift shadows and correct white balance later without destroying detail.
Focus manually before it gets fully dark. Autofocus struggles on a starfield, so set the lens to infinity using a bright star or distant light, then tape the focus ring or lock it so it cannot drift. Check the histogram rather than the rear screen, because a dark frame that looks black on the LCD often holds a usable exposure. If a display suddenly brightens, take a test frame, assess it, and reset your shutter and ISO before the next curtain arrives.
Focusing and composing in the dark: foregrounds, reflections and scale
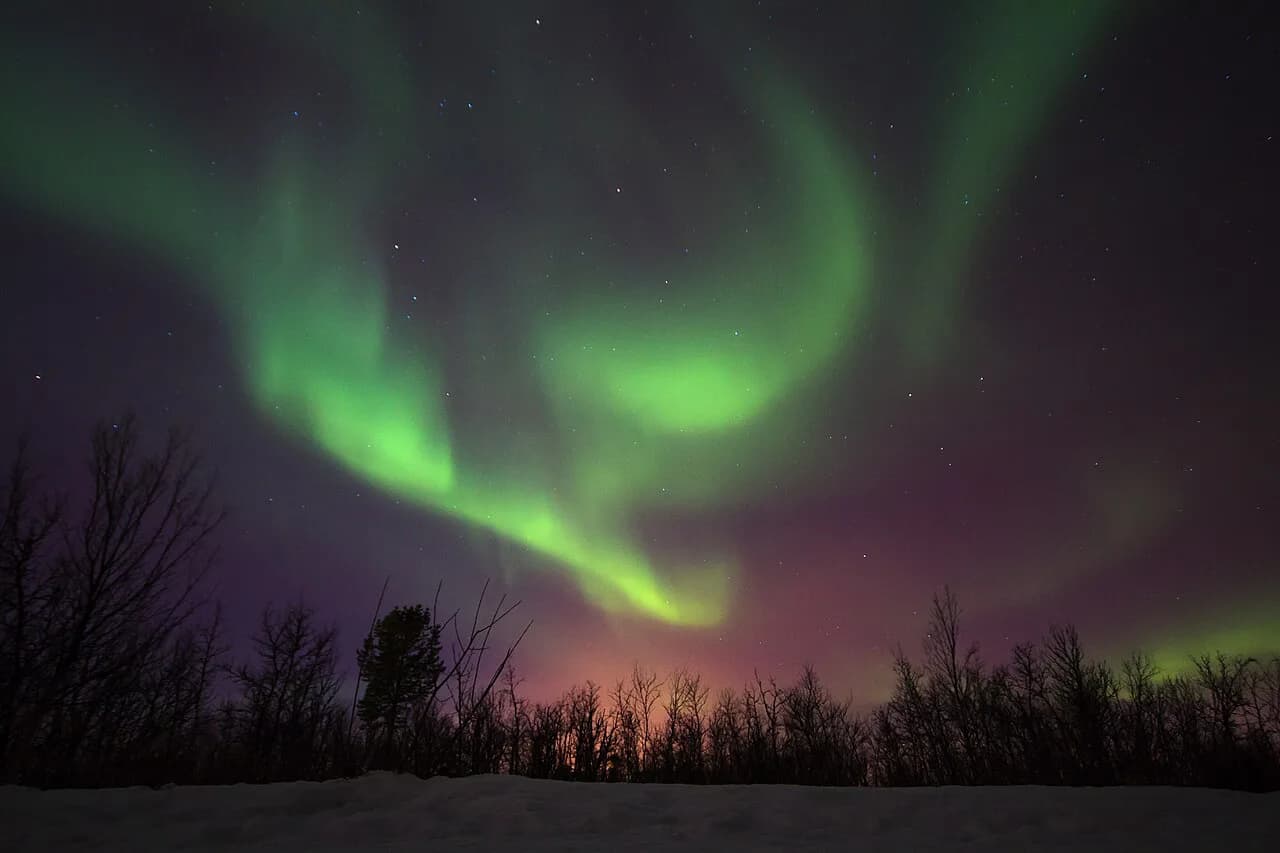
A sky full of green is only half a photograph. Include a foreground, such as a fell, a frozen lake edge, a church or an ice shape, so the viewer's eye has somewhere to land and the aurora has scale. In Lapland and Iceland, snow and ice are excellent foreground material but can flatten into a featureless white mass; look for texture, a rock, a birch trunk or open water, and place the aurora above it rather than letting it float in an empty frame.
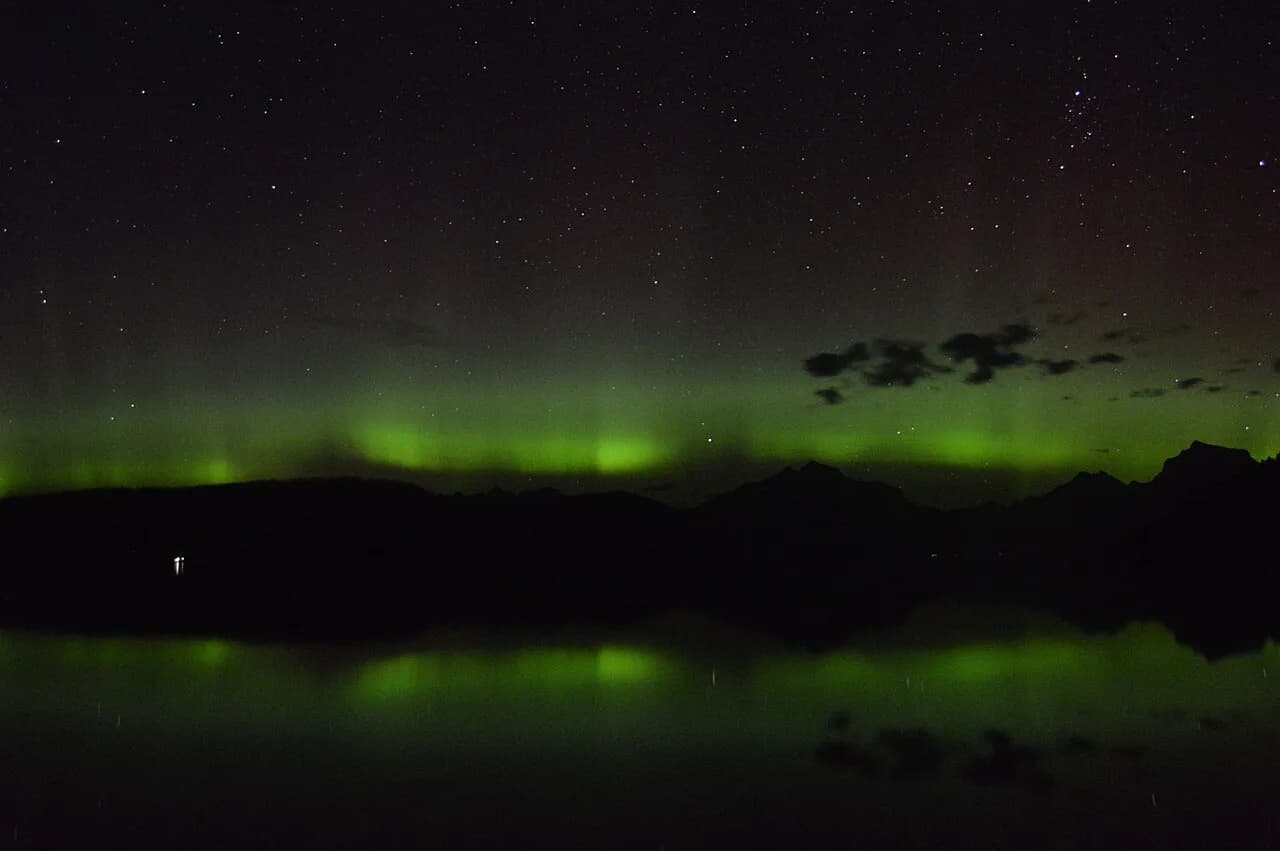
Reflections double the light and the drama. A calm lake, a wet fjord shore or a frozen surface can mirror the aurora and give you a second, symmetrical composition. Iceland's coast is particularly good for this: a coastal shot at Húnaflói Bay near the basalt stack Hvítserkur used a 14mm lens, f/2.8 and a 3-second exposure to hold both the rock silhouette and the night sky. On ice, a long exposure smooths the surface and makes reflections cleaner.
A human figure can anchor a vast landscape, because viewers instinctively understand the size of a person. Place a companion on a ridge or by a fire and expose for the sky, letting the figure fall into silhouette or into the light of a torch. Do not include people without their consent, and keep safety first on ice and near water in the dark. A small headlamp with a red filter helps you set up without ruining your night vision or a neighbour's frame.
City lights versus dark-sky spots in Finnish Lapland, Swedish Lapland and Iceland
Light pollution is the quiet killer of aurora photos. Town centres in Rovaniemi, Levi, Kiruna or Reykjavík brighten the sky and reduce contrast, so drive or walk a short distance to a genuinely dark spot. In Finnish Lapland, national parks and fell areas such as Hossa give you dark horizons and open north-facing views; the photographer who shot there used ISO 2000, f/4 and 25 seconds, a typical setting for a dim, slow display.
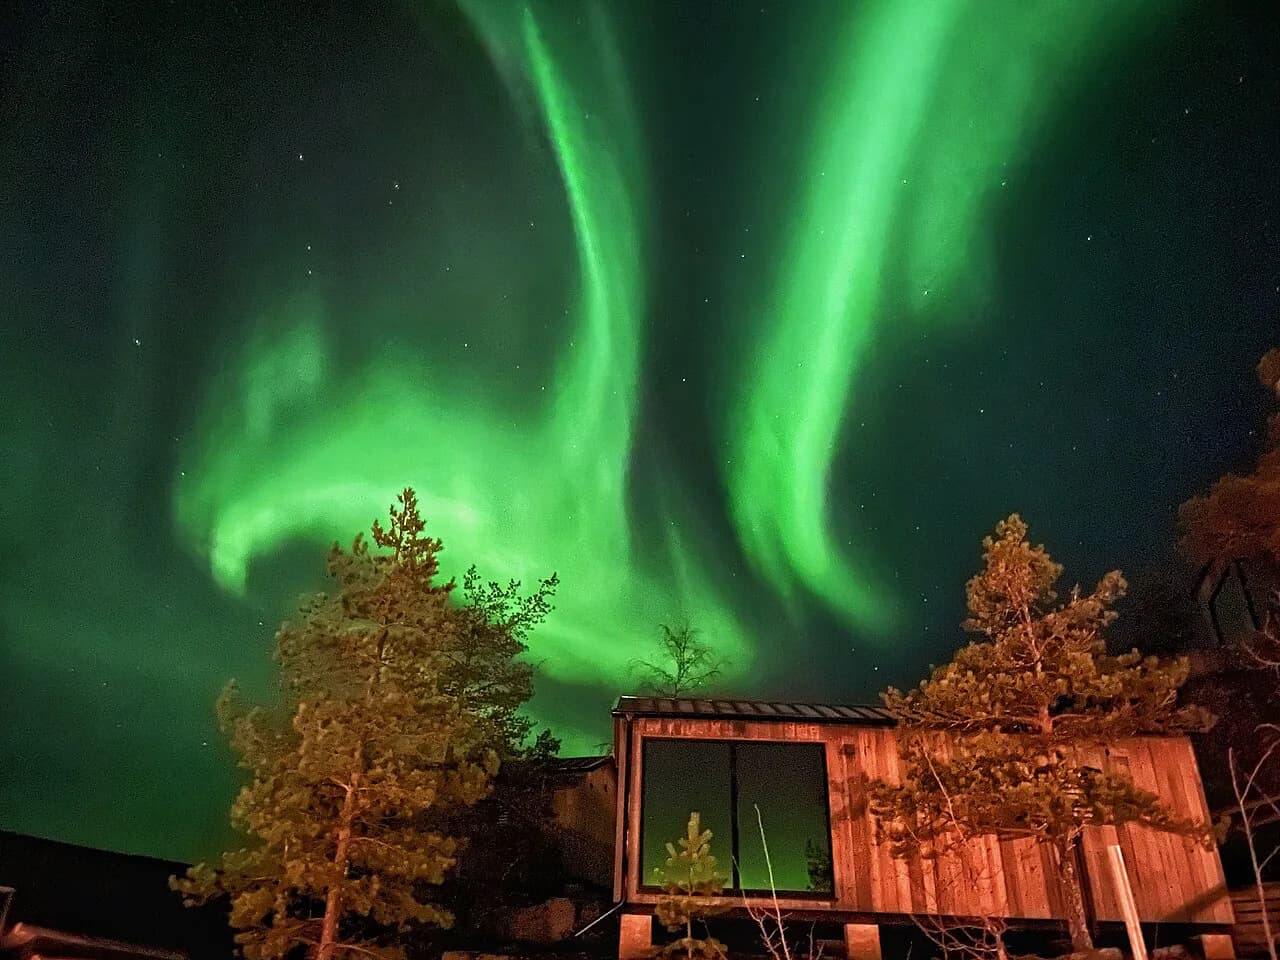
A dark sky alone is not enough: you need a clear line of sight to the north and, ideally, an interesting foreground. Lakes and frozen rivers are the classic Lapland choice because they open the horizon and reflect the lights. In Iceland, the south coast and the interior around Vatnajökull offer big skies, but coastal cloud changes fast, so plan several possible locations. Glass igloos and aurora hotels can be wonderful places to sleep, but their lights and windows can interfere with photography, so ask about dark-sky viewing areas and whether lights can be switched off.
Swedish Lapland rewards the extra effort. The Torne River valley and the area around Abisko are known for cold, dry inland air and long dark nights, and the ice hotel at Jukkasjärvi is a natural base for aurora hunters in winter. Check the seasonal opening of the ice hotel before you build a trip around it, since the ice structures are rebuilt each winter and the season is shorter than the aurora season itself.
Cold-weather camera care and battery life at -20°C
Cold is the enemy of batteries and the friend of clear skies. At around -20°C, a temperature reported during aurora shooting in Finnish Lapland, battery capacity drops sharply and devices may shut down without warning. Carry at least two spare batteries in an inside pocket, keep the camera under your jacket between shots, and avoid breathing on the lens or the rear screen, because condensation freezes instantly. A lens hood helps keep frost off the front element.
When you return indoors, let the camera warm up inside a sealed bag so condensation forms on the bag rather than inside the lens. Do not change lenses in falling snow or freezing fog, because moisture will get into the body. A simple hand warmer taped near the battery compartment can extend a cold evening, but keep it away from the sensor and the screen. Tripods also stiffen in the cold, so check the leg locks before you rely on them in the dark.
Shooting the aurora on an iPhone
A modern phone can capture a credible aurora if you keep it perfectly still. With the NightCap Camera app, switch on Stars Mode and tap the shutter, waiting roughly 15 seconds for the exposure to finish. If the display is faint, turn on Light Boost to brighten the result, and adjust the boost strength in the app's settings. A tripod or a stable rest is essential, because any movement during those 15 seconds ruins the frame.
Set up before the aurora appears. Turn on Light Boost, lock focus on a distant light, and use a remote shutter or the volume buttons so you never touch the screen. Results depend on the phone model, the sky conditions and how bright the lights are, so do not expect every frame to match a dedicated camera. If your phone has a native night mode, it can also work, but a dedicated app gives you the control you need to repeat a good result.
Time lapse on a phone: 120x speed, long exposure and night mode
Aurora time lapse turns a slow, quiet night into a moving record of the display, and a phone handles it well if you are patient. In NightCap, switch to Time Lapse mode and set a speed around 120x, which corresponds to a 4-second exposure, as a good starting point for most displays. Turn on Long Exposure and Night Mode, then choose 4K quality if you have storage to spare. At 120x, twenty minutes of recording produces only about ten seconds of video, so plan for a long, cold wait.
Power is the limiting factor for a long time lapse. Connect the phone to an external battery and wrap it against the cold, because a long recording in freezing conditions will otherwise end early. Use a remote shutter to start and stop without touching the screen, and check that your storage has room for 4K video before you leave your accommodation. A slow-moving display suits a slower time lapse speed, while fast, active curtains look better at a higher speed.
Faint auroras, cloudy gaps and patience: reading forecasts and waiting for breaks
Clear sky matters as much as solar activity, and in Arctic Europe cloud often decides the night. A useful habit is to treat the forecast as guidance, locate two or three dark spots within a short drive, and move when a gap opens rather than waiting in one place. Even a cloudy night can deliver half an hour of clear sky and a strong display, so a thermos and enough patience to wait are part of the kit. The planetary K-index is a useful indicator of activity, but it does not tell you whether your sky will be clear.
Use the tools together: a space-weather forecast for activity, a cloud forecast for gaps, and a map for dark-sky access. Check the local Finnish, Swedish or Icelandic meteorological service for cloud and temperature rather than relying on a generic global app, because coastal and inland conditions diverge sharply. Then choose your base so you can reach several viewpoints quickly. The more options you have within a short drive, the less a single cloudy forecast costs you.
How many nights to plan for a fair chance of clear, dark skies
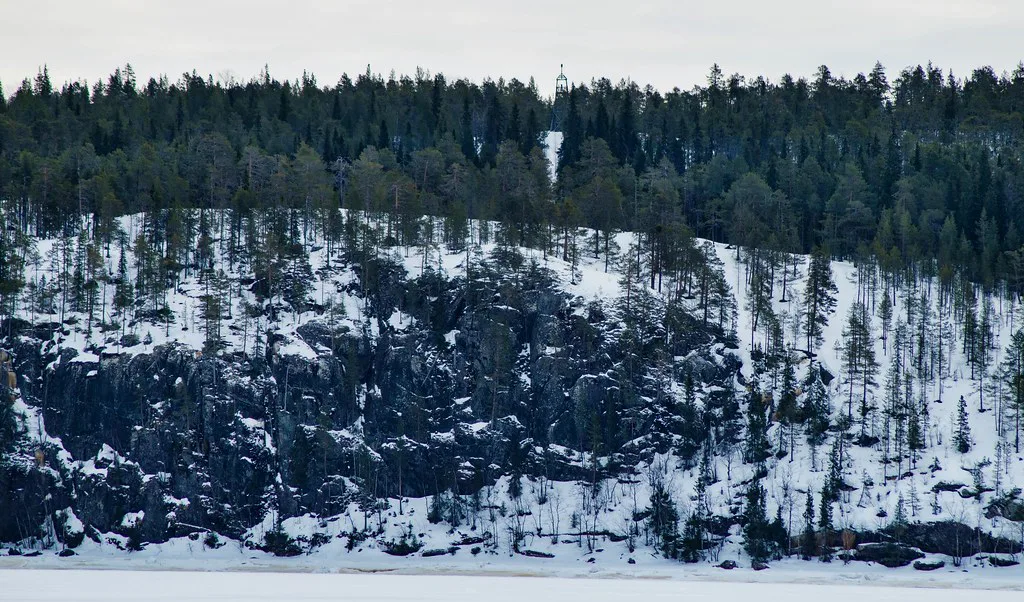
No one can promise an aurora on a given night, but you can stack the odds by staying longer. A single night in Lapland in September or March might deliver a spectacular display or nothing at all, and cloud is usually the deciding factor rather than solar activity. Plan at least four to five nights in one place, and preferably a week, so that a run of overcast weather does not end your trip. Choose a base with several dark-sky sites and some non-photography daytime activities so a cloudy night does not feel wasted.
Book accommodation with flexibility. Aurora hotels and glass igloos fill up for the most popular weeks, so reserve early and ask about cancellation terms if weather is your main concern. If you want a single place to compare bases across the region, start with our Finnish Lapland overview and then check what each destination offers after dark. Night counts matter less than having a clear north-facing horizon and the patience to go out again after a failed attempt.
Editing aurora photos without turning green skies into noise
Aurora files often look flat and noisy straight out of the camera, so editing is where they come alive. Start by correcting the white balance carefully: aurora green should stay green, not drift toward yellow or teal, and snow should remain neutral. Lift the shadows and reduce the highlights gently, then apply noise reduction before sharpening. Over-sharpening is the fastest way to make a night sky look like gravel, so sharpen only the stars and the foreground separately if your software allows it.
Keep colours plausible. Intense reds and purples can appear during strong activity, but a processed image should still look like a night sky rather than a neon poster. Use local adjustments to brighten the aurora without blowing out the foreground, and clone out sensor spots or aircraft trails only after you have saved a clean copy. Export at a sensible size for sharing, and check the image on a phone screen as well as a monitor, because most viewers will see it small.
Aurora photography tours and workshops: guides, transport and thermal suits
A guided aurora hunt is worth considering when you lack a car, when you want local knowledge of cloud gaps, or when you are travelling alone in deep winter. Operators typically drive small groups to several locations, supply thermal suits and boots, and time the night around the forecast. Names, prices and group sizes vary widely and change season to season, so compare what each tour includes and ask directly whether photography is supported with tripods, hot drinks and a driver who understands camera stops.
A tour does not replace your own preparation. Bring your camera, tripod and spare batteries, tell the guide you want time for long exposures, and expect the group to move if the sky closes. Photographers in Finnish Lapland often work from Inari and Utsjoki, where local guides know the road network and the dark-sky spots, so ask where they plan to go and how they decide. Check the tour company's own page for current prices and departure details, since these are the most volatile facts in any aurora trip.
Plan Your Visit
Start with a dark, northern destination and a flexible week, then build your photography around the weather rather than the other way round. Finnish Lapland, Swedish Lapland and Iceland each offer different cloud, temperature and light-pollution trade-offs, and the best choice depends on whether you value inland clarity, coastal drama or deep Arctic cold. Pack a tripod, spare batteries and a fast wide lens, learn your starting settings before you travel, and treat every clear night as a bonus rather than a guarantee.
Frequently Asked Questions
What camera settings should I start with for the northern lights?
Begin with ISO 1600, an aperture of f/2.8 to f/4 and a shutter speed around 8 seconds. If the lights move fast, shorten the exposure to about 4 seconds; if they are faint and slow, lengthen it toward 15 to 25 seconds. Adjust from there based on your test frame.
Can I photograph the northern lights with an iPhone?
Yes, with a steady mount. Using NightCap Camera, switch on Stars Mode and tap the shutter, waiting roughly 15 seconds for the exposure. Turn on Light Boost if the display is faint, and keep the phone still on a tripod. Results vary with the phone model and the sky conditions.
How long an exposure do I need for aurora photos?
Most aurora frames need exposures from about one to twenty-five seconds. Fast-moving curtains look best around 3 to 8 seconds, while faint, slow arcs can take 15 to 25 seconds. Longer exposures risk smearing the lights into an undefined glow.
Why is a tripod essential for aurora photography?
Long exposures record any movement as blur, and even pressing the shutter can shake the camera. A tripod keeps the lens perfectly still for several seconds. If you do not have one, rest the camera on a solid surface and use the self-timer or a remote shutter.
How do I keep my camera battery alive in -20°C?
Carry spares in an inside pocket and keep the camera under your jacket between shots. Cold drains batteries quickly and phones may shut down to protect themselves. A hand warmer near the battery compartment can help, but keep it away from the sensor and screen.
How many nights should I plan to have a fair chance of seeing the lights?
Allow at least four to five nights in one place, and preferably a week. Cloud is usually the deciding factor, so several nights give you more chances for a clear gap. Choose a base with several dark-sky sites and flexible accommodation.
How do I stop aurora photos looking noisy or blurry?
Use a tripod, a remote shutter or self-timer, and focus manually. Keep the ISO as low as the display allows, and reduce noise during editing before sharpening. Avoid over-sharpening, which makes a night sky look like gravel.
Do I need a tour to photograph the northern lights in Lapland?
Not necessarily, but a tour helps if you lack a car or local knowledge of cloud gaps. Operators typically drive small groups to several locations and may supply thermal suits. Ask whether the tour supports photography with tripods and time for long exposures.
Sources
Notes for your Arctic winter trip
Optional updates to our northern lights guides.
You might also like
Continue reading
More guides you'll find useful