Northern Lights Photography in Iceland: Where, How and Tours
Plan northern lights photography in Iceland with dark-sky spots, camera and phone settings, and winter photo tours that put you under clear skies.
On this page
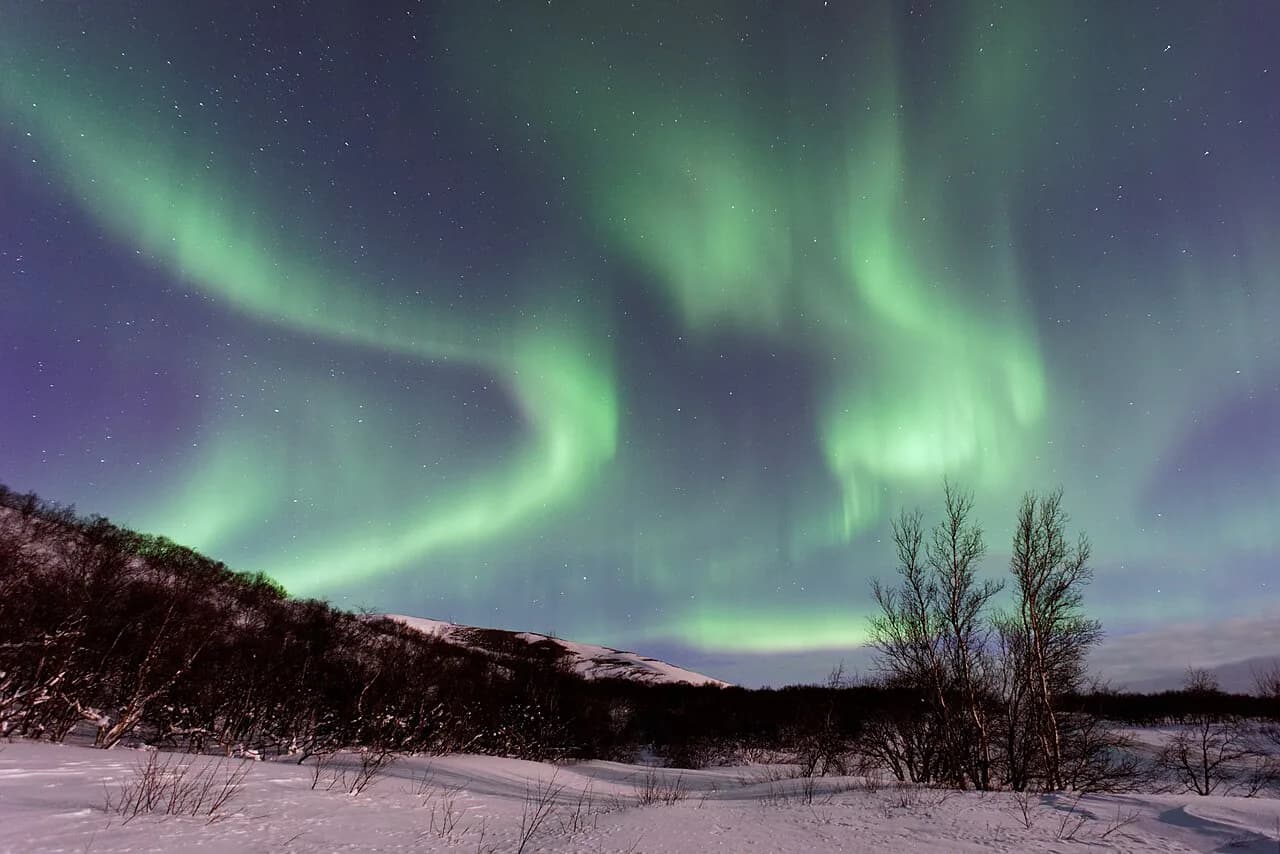
Iceland gives aurora photographers something most Arctic destinations cannot: a foreground for every kind of composition. Within a short drive you can frame the northern lights over a waterfall, a glacier tongue, a black sand beach or a mountainside, and on a clear, active night you do not always need to leave the capital. Iceland sits close to the Arctic Circle inside the auroral zone, which is why the country ranks among the world's best places to see the lights when skies are clear and solar activity cooperates; the broader northern lights guide covers the science and the season.
Why Iceland suits aurora photographers
The auroral zone is the band of sky where aurora displays are most frequent, and Iceland's position just south of the Arctic Circle puts the whole country inside it. Visit Iceland describes displays being visible across the country during the darker months whenever skies are clear and solar activity is favourable. That combination of latitude and compact geography is what makes the country practical: you are not travelling to a single aurora viewpoint but moving between landscapes that each give a different picture.
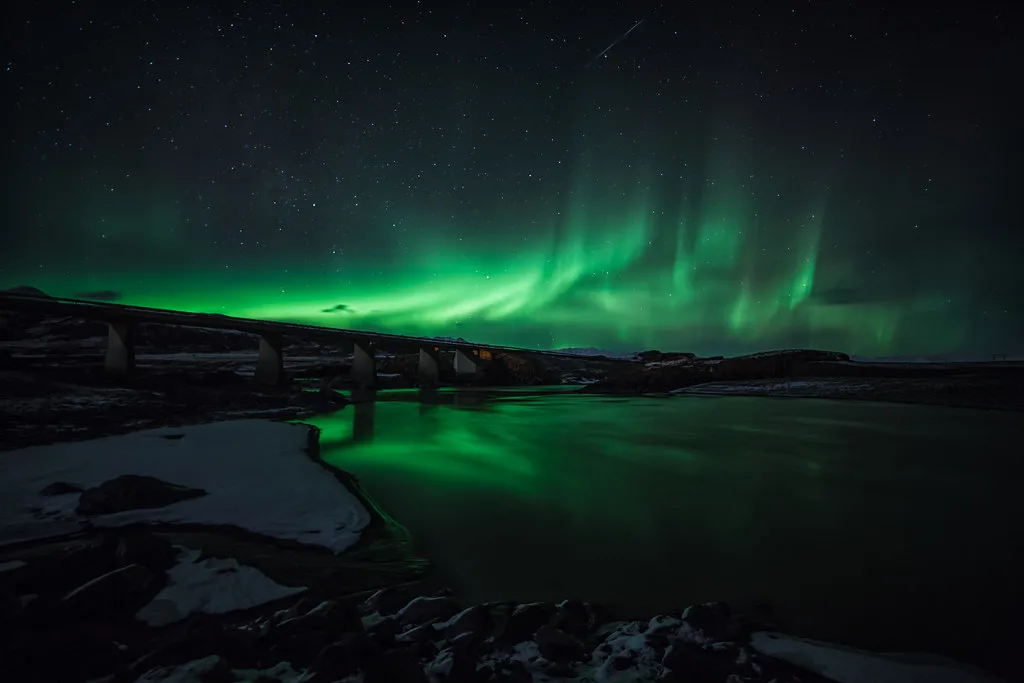
The settings matter as much as the latitude. A waterfall takes a long exposure and a still night, a glacier tongue reflects faint light and suits wide lenses, and a black sand beach gives you a dark, low-horizon frame where the aurora can fill the upper half. Pick two or three foregrounds before you reserve accommodation and plan nights around them rather than driving to a new landscape every evening. Visit Iceland sums up the appeal plainly: the lights might appear above a waterfall, glacier, black sand beach or mountain landscape, or simply outside a countryside hotel.
When the aurora season runs
The main season is September to April, when Icelandic nights are dark enough for the aurora to show. Equinox months, September and March, are often described as more active, but midwinter gives you more dark hours each day, so the window for a display is wider. If your trip is fixed, aim for either side of the equinoxes; if you can move, choose the month with the longest nights you can tolerate for cold and road conditions.
Daylight changes dramatically across that span. September still has long twilights that push aurora photography late into the evening, December offers the shortest days and the most hours of darkness, and March brings back usable daylight for landscape shooting before the night session. For a wider comparison of months, cloud patterns and trip timing, the guide to the best time to see the northern lights in Iceland sets out the trade-offs between dark hours, weather and access.
Where to watch: foregrounds and dark spots
Iceland's signature aurora compositions come from a handful of landscape types rather than a single famous viewpoint. Waterfalls give a bright, textured foreground and reward a long exposure only when the water is calm; glacier edges and ice caves reflect whatever light the sky throws at them; black sand beaches keep the lower frame dark so a faint arc still reads. Mountains such as Kirkjufell are the country's best-known photographic landmark and work as a silhouette when activity is modest.
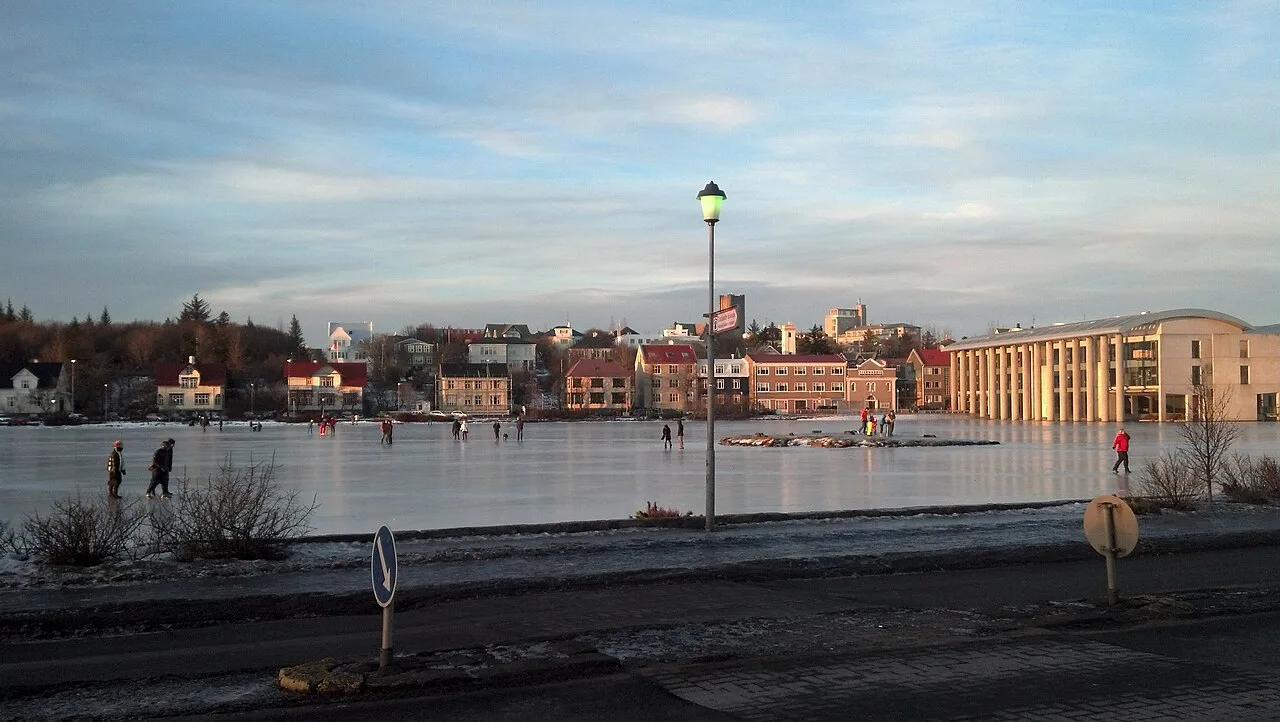
Away from Reykjavík, dark skies are easy to find; near the capital, light pollution reduces contrast when the aurora is faint. Visit Iceland notes that sightings are greatly improved outside populated areas, especially away from the capital's glow, but also that the lights can be visible from Reykjavík on a clear, active night. Grótta lighthouse at the tip of the Seltjarnarnes peninsula is the classic short drive from the city centre for a first attempt, though it is far from empty on a promising night. If you would rather combine dark skies with a dramatic coastline foreground, the Snæfellsnes northern lights guide shows how that peninsula compares.
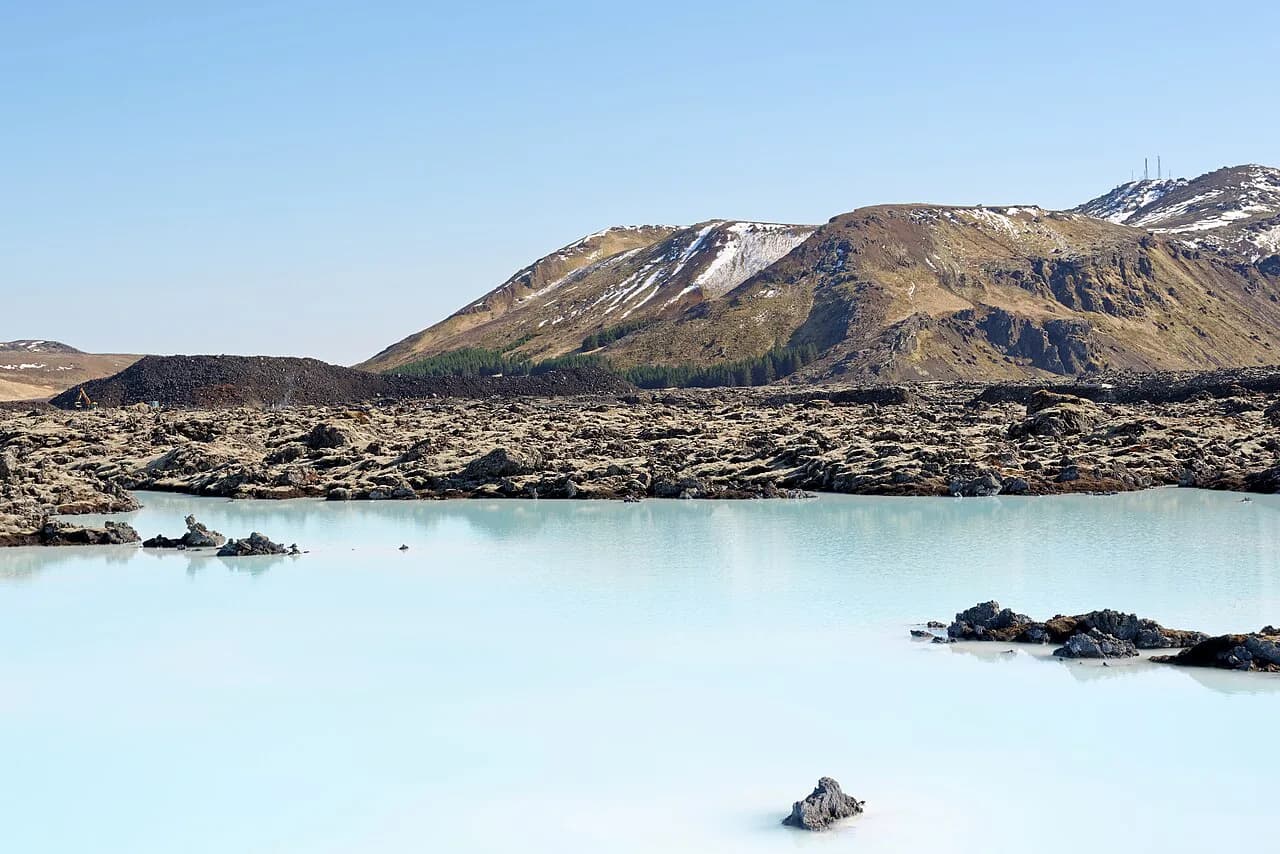
For a different kind of foreground, geothermal pools and steam work well in cold air but need calm conditions to avoid blurring the frame. The Secret Lagoon in Flúðir sits in a dark, low-population part of the Golden Circle corridor, which makes it a practical stop on an evening drive out of Reykjavík. Sky Lagoon in Winter is close to town and better treated as a daytime or twilight stop than a serious aurora location, because its own lighting competes with a faint sky.
Reykjavík as a photography base
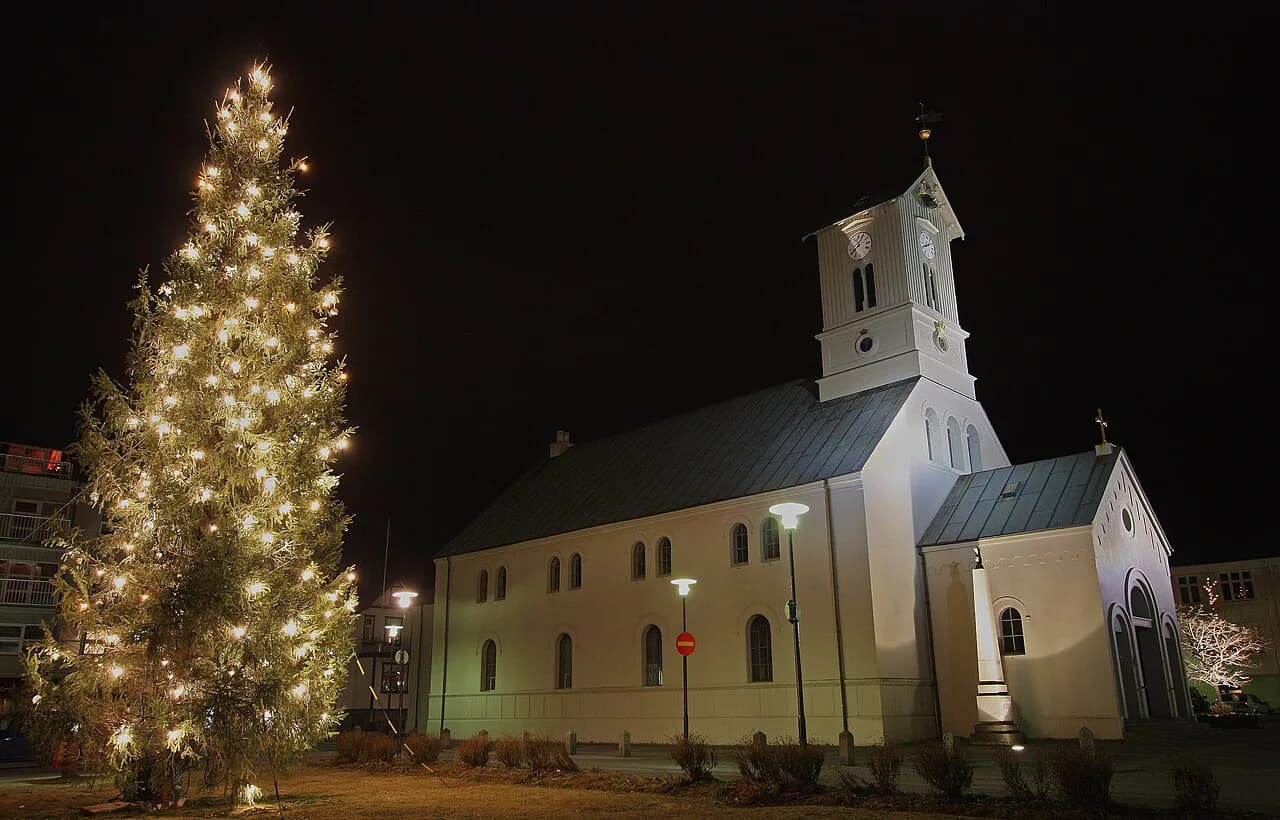
Reykjavík works as a base because it sits inside the auroral zone and has the country's densest choice of accommodation and tours. On a clear, active night the lights can be seen from the city itself, so a short walk to the waterfront or a dark corner of a park may be enough. When activity is low, the city's glow becomes the limiting factor and a drive out of town is the better decision.
Treat Reykjavík as a hub rather than a destination for the picture you want. The practical routine is to watch the cloud and activity forecasts through the afternoon, then choose between a city-edge location and a longer drive inland or along the coast. The northern lights guide to Iceland covers the wider regional picture if you want to compare the capital with countryside bases and the trade-offs between convenience and dark skies.
Camera settings to start from
There is no single correct exposure, but Visit Iceland publishes a starting range that works for most aurora scenes: ISO 800 to 3200, aperture between f/2.8 and f/5.6, and shutter speeds from 15 to 30 seconds. Adjust from there based on how bright the display is and how much star movement you are willing to accept. Higher ISO lets you shorten the exposure but adds grain, while exposures longer than about 15 seconds begin to show slight star trailing.
Use a wide-angle lens for most aurora frames, remove any lens filters because they can distort the image, and focus manually at infinity before the display starts. Shoot in manual mode so the camera does not adjust between frames as the aurora brightens or fades. Visit Iceland's camera settings paragraph is the reference to return to when you are testing on location.
Tripods, cable releases and cold-weather handling
A sturdy tripod is essential, and Visit Iceland recommends a cable release to avoid shake when you trigger the shutter. If you do not have one, set the self-timer to a 2 to 10 second delay instead and let the camera settle before the exposure opens. Wind is the common failure in Iceland, so weight the tripod or keep it low to the ground on exposed beaches and cliffs.
Cold shortens battery life, so carry spares warm inside a coat and swap them before the display peaks. Condensation is the other risk: seal the camera in a bag before returning to a heated room and let it reach room temperature slowly. Lenses with a wide maximum aperture give you the most flexibility when the aurora is weak.
Photographing the aurora on a smartphone
Modern phones can capture the aurora, and Visit Iceland notes that advancements in smartphone technology now allow effective low-light shooting. The practical approach is to practise your night-mode or pro settings indoors before the trip so you are not fumbling with a screen in freezing wind. A small tripod or a stable surface makes the difference between a sharp frame and a smeared one.
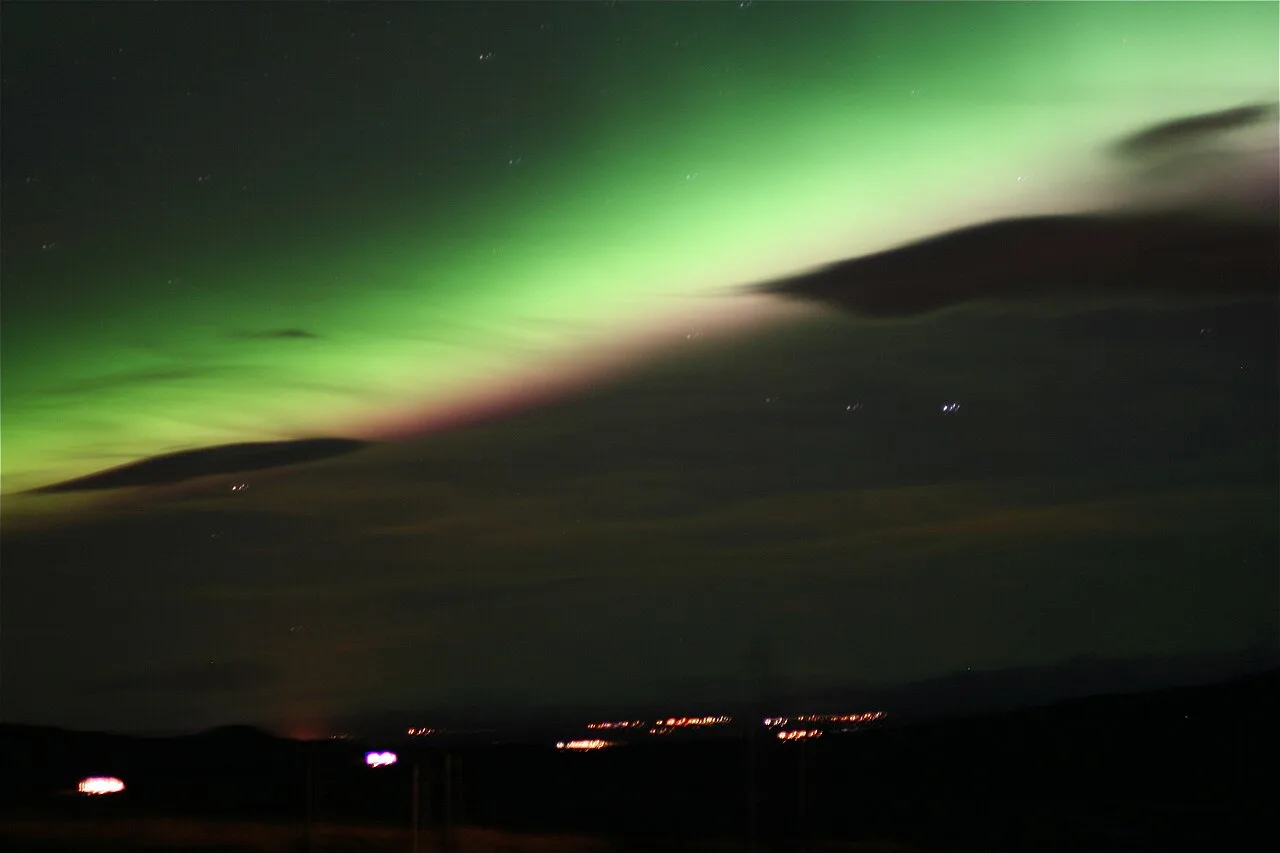
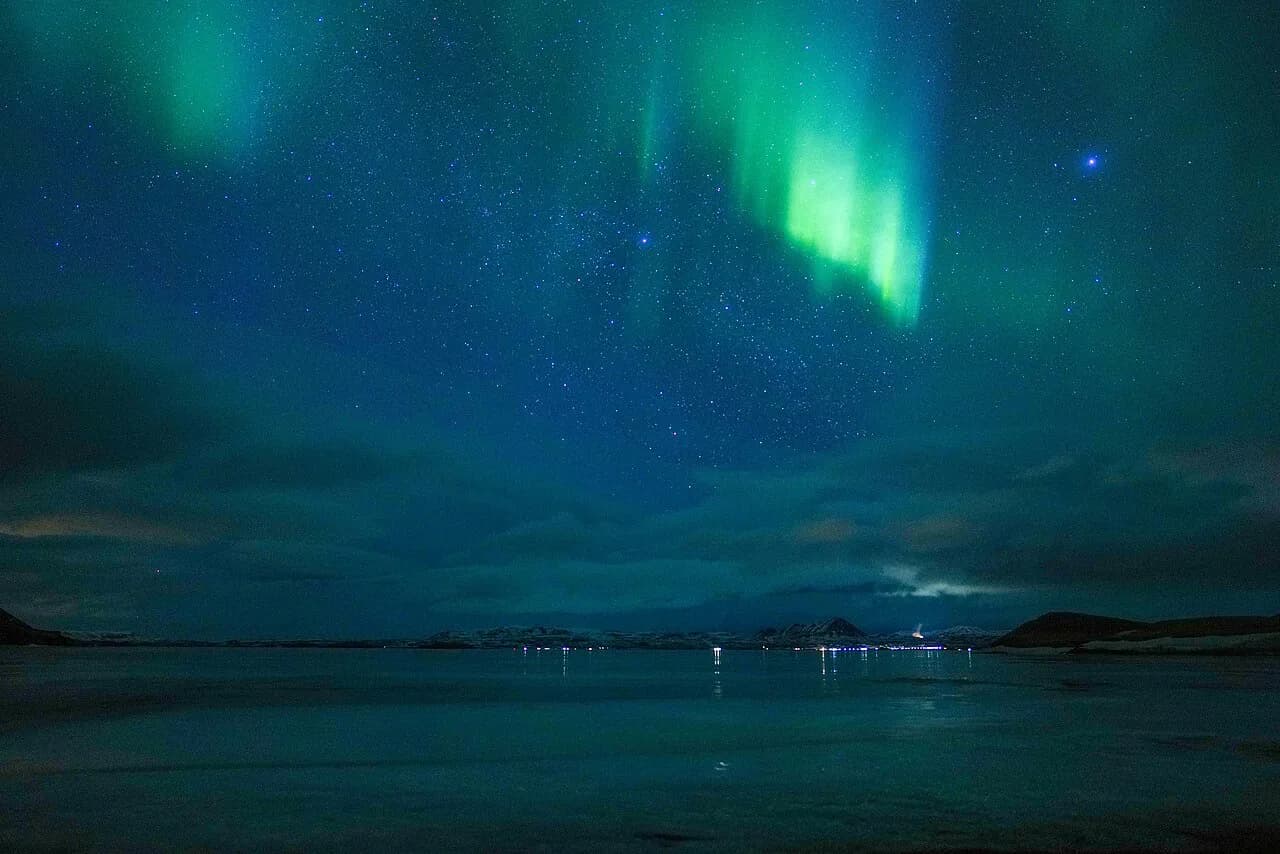
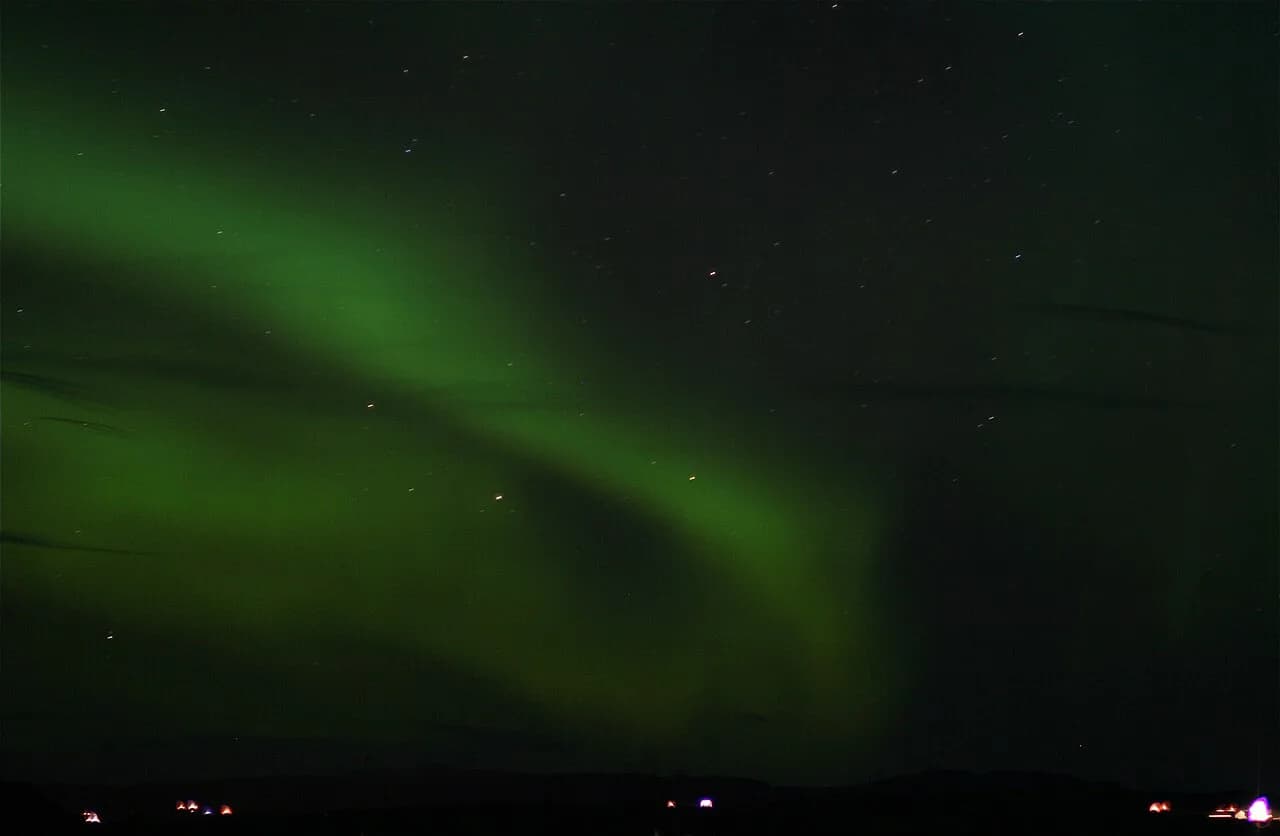
Judge the aurora with your eyes as well as the screen. The display may begin as a faint arc or glow that barely registers on a phone preview before growing brighter and moving across the sky, so keep looking in all directions when activity rises. If the camera shows green and your eyes see grey, that is normal for faint displays; the camera gathers light over seconds that your eyes do not.
Reading cloud cover and aurora forecasts
Two forecasts decide your night: cloud cover and aurora activity. Visit Iceland points readers to the Icelandic Met Office website and Auroraforecast.is for both, and advises checking them through the evening because conditions change. Kp values are guidance only; they describe geomagnetic activity on a planetary scale, not whether your specific location will have clear sky.
In practice, cloud is the more decisive variable in Iceland, where weather shifts quickly. A low Kp with clear skies can produce a better photograph than a high Kp under overcast. Build a routine: check the cloud map for the regions within driving distance, pick the clearest one, and allow for the drive before the display starts. The northern lights tours guide explains how operators make that same decision on a cloudy evening.
Self-guided versus guided
Self-driving gives you control of your schedule and foreground but puts the cloud decision on you. A guided night tour puts a driver and a guide who reads conditions on the job, which is valuable when the forecast is marginal and you do not know the roads. Visit Iceland notes that sightseeing trips are organised around the phenomenon on clear winter nights and that you do not necessarily need a tour to see the lights.
For photography specifically, a general sightseeing tour is not the same as a photo tour. General tours prioritise a sighting; photo tours prioritise time at a location, tripod space and instruction. If your goal is a specific composition rather than a snapshot, choose a tour that builds in shooting time and check what it covers before booking through the Visit Reykjavík listings or an operator page.
Multi-day winter photography workshops
Iceland Photo Tours lists a set of winter workshops built around northern lights and ice caves, ranging from a 4 Day Northern Lights & Ice Cave Photo Tour through 8-day and 10-day versions to a Complete Two Week Winter Photography Workshop. The longer formats stack more nights, which is the realistic way to raise your chances when cloud is the limiting factor, and they combine night shooting with ice cave and landscape sessions in daylight. Iceland Photo Tours' own pages set out current dates, group sizes and what each format includes.
Workshops typically include transport, instruction and specialised gear, which changes the effort you put in: you are not solving the driving, the forecast or the access alone. That matters for ice cave shoots, where safe entry depends on guides and conditions, and for long nights when a second pair of eyes on settings helps. Read the inclusions carefully; each workshop page sets out what is provided.
Pairing ice caves and landscapes with aurora nights
A winter photography trip in Iceland has two distinct halves: daylight shoots at waterfalls, glaciers and beaches, and night sessions chasing clear sky. Combine them deliberately, booking accommodation that lets you rest between a long daylight drive and a late aurora session. Ice cave visits are daytime activities that depend on safe conditions, so treat them as a separate booking rather than counting on a night tour to include one.
The best-known foregrounds pair naturally with a night schedule: a waterfall within a short drive of your lodging, a beach with a dark eastern horizon, a mountain silhouette you can reach without a long hike. Visit Iceland notes several countryside hotels offer a northern lights wake-up call if the lights are shining, which removes the need to stay awake every hour on the chance of a display.
Countryside stays and aurora-friendly hotels
Countryside hotels are the strongest base for aurora photography because they put you under darker skies and cut the drive home after a late session. Visit Iceland records that several rural hotels offer a wake-up call when the lights appear, so you can sleep and still catch an unexpected display. Choose a hotel away from its own exterior lighting where possible, and ask about the view from the grounds rather than from a window.
The trade-off is flexibility: a remote hotel wedges you to one forecast region, while a Reykjavík base lets you follow clear sky in several directions. If you have three or more nights, split the stay between the capital for access and a countryside night or two for darker skies. The Sky Lagoon in Winter and Secret Lagoon stop pages show how to fill daytime hours when the night forecast looks poor.
How many nights to plan
There are no guarantees with the aurora, so the more nights you have the better your chances of a clear sky coinciding with activity. Visit Iceland's advice is to give yourself several nights and to build a flexible schedule. A single night in Iceland is a gamble on both weather and solar activity; three to four nights give you repeated attempts, and a week covers a forecast pattern that shifts across the country.
Photographers should budget extra nights compared with casual viewers. A strong display can arrive late and last a short time, and you may need one night to scout a foreground and another to shoot it under a better sky. Plan on at least three nights and design the trip so a cloudy first night does not end your opportunity.
Plan Your Visit
Treat northern lights photography in Iceland as two plans: a photography plan for where you stand and how you expose, and a weather plan for where the sky is clear tonight. Iceland supplies the foregrounds and the latitude; cloud and solar activity supply the rest. Book a base that lets you move, allow several nights, and keep one dark, simple location in reserve for when the forecast improves at short notice.
Frequently Asked Questions
Can you see the northern lights with your eyes in Iceland, or only on camera?
You can see them with your eyes. Faint displays often look like a pale grey or white arc, and colour becomes obvious as the aurora brightens; a camera gathers light over several seconds and exaggerates colour that your eyes barely register. Keep looking in all directions and let your night vision adjust.
What camera settings work for northern lights photography in Iceland?
Visit Iceland gives ISO 800 to 3200, aperture f/2.8 to f/5.6 and shutter speeds of 15 to 30 seconds as starting points. Use manual exposure, focus at infinity, remove lens filters and adjust brightness and star movement to taste. Higher ISO shortens the exposure but adds grain.
Where are the best photography locations for the aurora in Iceland?
Visit Iceland highlights waterfalls, glaciers, black sand beaches and mountain landscapes as the settings where displays can appear, and notes that displays are greatly improved away from populated areas. Near Reykjavík, the city itself and dark edges such as Grótta lighthouse are workable on clear, active nights.
Is a photo tour worth it compared with self-driving to chase clear skies?
A photo tour is worth it if you want instruction, transport and glacier gear handled for you, especially on marginal nights or for ice cave access. Self-driving is better if you prefer flexibility and know the roads in winter. Compare what each includes before booking.
How many nights should you stay in Iceland to photograph the aurora?
There are no guarantees, so plan at least three nights and ideally more. Several nights give you repeated attempts at clear skies, and a multi-day workshop format adds more chances under a guide who reads conditions.
Can you photograph the northern lights with a smartphone in Iceland?
Yes. Visit Iceland notes that smartphone technology now handles low-light shooting well. Practise your night or pro settings indoors before the trip, hold the phone steady on a tripod or surface, and expect the screen to show more colour than your eyes do on faint displays.
What time of night is best for aurora photography in Iceland?
There is no exact best time. The lights can appear at any point when the sky is dark enough, so watch the cloud and activity forecasts through the evening rather than planning a fixed hour.
Sources
Notes for your Arctic winter trip
Optional updates to our northern lights guides.
You might also like

Continue reading
More guides you'll find useful